
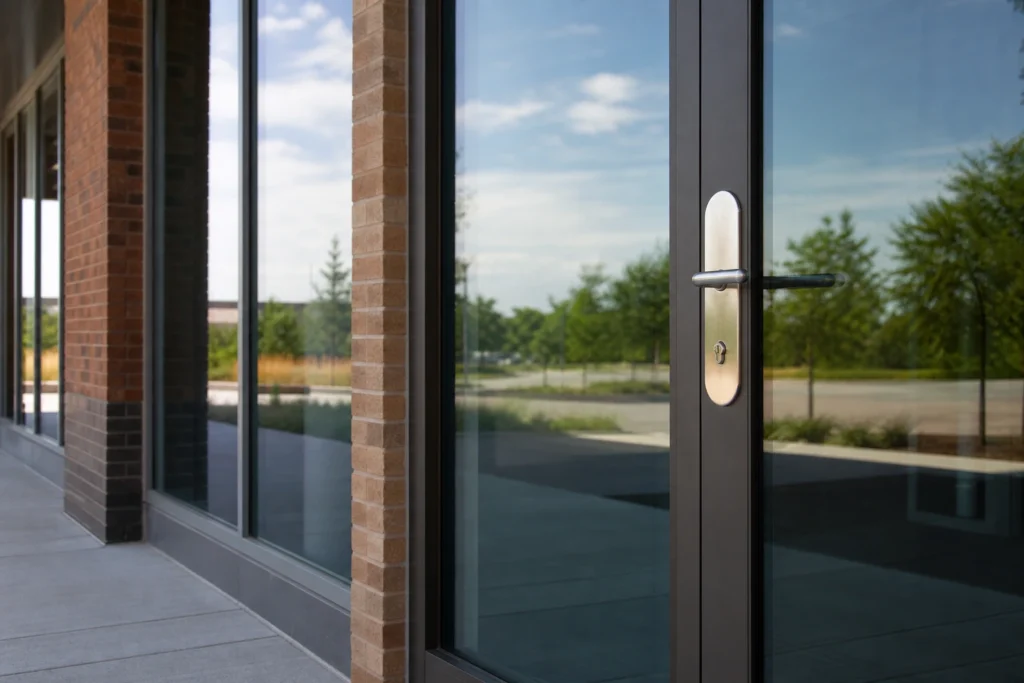
A storefront cylinder that refuses to turn at 8:15 a.m. Can stall payroll, delay deliveries, and send customers to a competitor. The fastest way to avoid that spiral in 2026 is to understand how a commercial locksmith call actually unfolds, what details speed it up, and which decisions create new problems later.
Below is a practical, step-by-step view of the process with pro tips and common pitfalls to sidestep.
What Happens First: The Call That Sets the Pace
The first minute shapes the next hour. On the phone, expect focused questions about safety, the exact door or area affected, the type of hardware if you know it, and whether the space is occupied. Clear, concrete info lets a technician arrive with the right tools and parts instead of a guess.
Have specifics ready. Door label or location, photos of the lock and frame, any access rules for the building, and the times the door must be operational all help. If you are planning non-urgent work or upgrades, review our Commercial Locksmith page to see the common service categories and choose what applies.
Pro tip: send two photos, one straight on and one from the edge showing the latch and strike plate. Pitfall to avoid: “We are locked out” with no details. Vague calls slow everything down and increase the chance of extra trips.
On-Site Assessment: Faster Fixes Start at the Hinge
A solid assessment starts with the door, not the key. A technician will typically check alignment, hinge wear, the strike and latch engagement, the closer speed, and any electrified or panic hardware connected to the opening. Many “bad locks” are actually “bad doors,” where sag, rub, or an unlatched strike is the real culprit.
Authorize a brief diagnostic window before any drilling or replacement. A few measured tests can reveal whether the cylinder needs service, the latch is binding, or the problem sits inside a mortise case. Pitfalls here include chasing the cylinder when the frame is out of square, or ignoring fire egress hardware that must function a certain way under code.
Non-Destructive Entry Comes First
When a door is shut and you need the default approach is non-destructive entry using legitimate tools and methods. The goal is to open and secure the door without creating new damage to the hardware or frame. Only after non-destructive techniques prove unworkable should drilling or part replacement be considered.
Ask for the least invasive option that will still meet your timeline. A frequent pitfall is approving immediate drilling because it sounds fastest. In reality, that choice can extend the repair, require new hardware you did not budget for, and create debris or downtime in a sensitive area.
A Typical Commercial Service Call in Six Steps
Most commercial calls follow a predictable flow. Knowing the sequence helps you prepare staff and reduce downtime.
- Phone triage: Confirm safety, location, affected opening, and constraints like delivery schedules or access rules.
- Arrival and safety check: Verify the door is safe to work on, isolate power if there is electrified hardware, and protect flooring or finishes.
- Diagnosis: Test the door swing and latch, inspect the cylinder and key, check the closer and hinges, then pinpoint the failure.
- Non-destructive entry: Open the door using professional methods when access is the priority.
- Repair or secure: Rekey, replace a failing component, or apply a temporary secure solution if specialty parts are needed.
- Documentation and next steps: Note hardware details, provide options for permanent repair or upgrades, and schedule follow-up if required.
Having a clear contact on-site and a brief approval path for small parts or time extensions keeps this sequence moving. The main pitfall is decision bottlenecks that leave the door half-fixed or vulnerable overnight.
Keys, Codes, and Permissions: Avoid Surprises Later
Once the door works, address key control. Rekeying brings a cylinder back to a new key, which is often the fastest way to revoke old access without changing hardware. Master keying organizes who gets into what, but it only works if you protect duplication and keep clean records. A simple spreadsheet or key log with issue dates and return confirmations is far better than a desk drawer full of unmarked keys.
Pitfalls to avoid include handing untracked keys to temporary vendors, relying on a single “master that opens everything” without an audit plan, and skipping restricted or controlled keyways where appropriate. If you are mapping a broader security plan, you can browse all related options on our Services page and decide what should be tackled together versus phased.
Scheduling and Follow-Up: Small Choices That Prevent Repeat Failures
Two quick habits cut repeat calls. First, label doors in a way your team actually uses, then capture hardware notes after service. A photo of the hinge side, a note about the closer setting, and the key code used for rekeying will save time the next time anything sticks. Second, set a short preventive check on high-traffic doors. A five-minute look at hinge screws, strike alignment, and closer speed can prevent a morning lockout entirely.
A common pitfall is treating the fix as the finish line and skipping documentation. That is how the same door becomes a recurring fire drill for your staff.
Next Steps for Your Team
If you need help right now or want to plan smarter upgrades, start with the essentials above. You will get faster service, fewer surprises, and a door that works the way your business needs it to. Lion Guard Locksmith provides commercial, residential, and automotive support. For questions or to schedule service, reach out through Contact Us.