
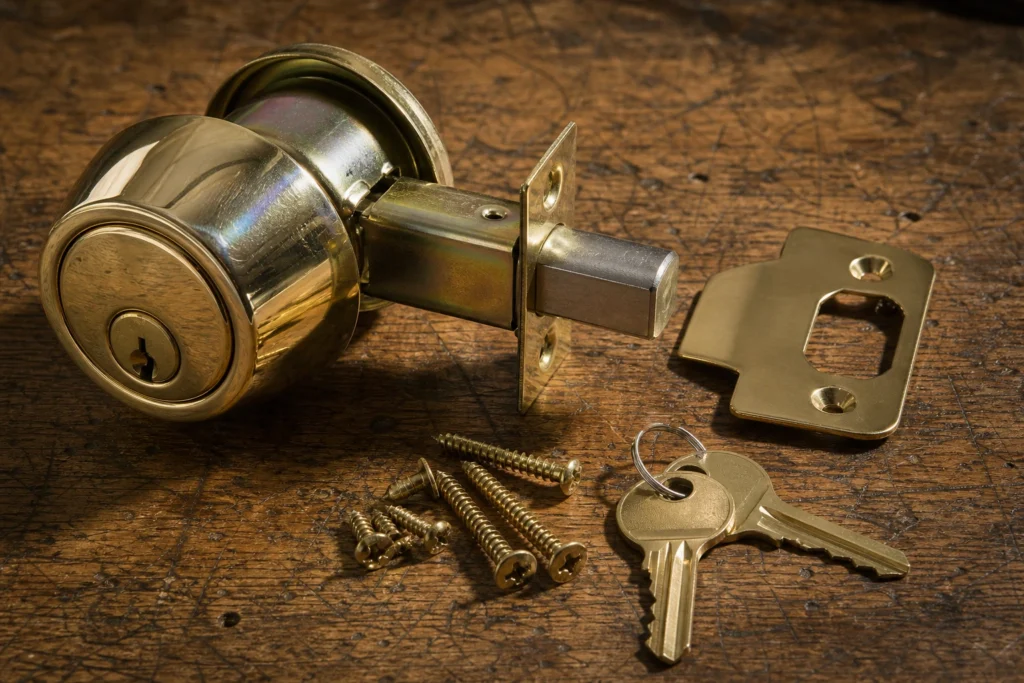
If a new deadbolt needs a hip-check to lock, the issue is not the lock, it is the install. That little rub you feel is metal colliding with wood, and it only gets worse. The hesitation is understandable: paying for professional lock installation services looks like hiring someone for a 20-minute swap. The real work is not twisting a few screws, it is preventing misalignment, door damage, and future battery drain on smart locks. Here is a practical walkthrough you can use to set expectations, spot shortcuts, and decide if you want to DIY or bring in help.
Your Biggest Objection, Answered Up Front
The top worry is overpaying for something that seems simple. The answer in 2026 is that modern locks are forgiving on paper and picky in wood, fiberglass, or metal. Door slabs warp slightly, weatherstrip compresses, hinges sag, and existing bores are rarely perfect. All of that shows up as a bolt that drags or a latch that barely catches. You do not see the misalignment until the door is closed and force has already bent something.
The second worry is surprise add-ons. Most of those show up when the installer discovers the bore is undersized, the backset does not match, or the strike pocket is too shallow. Defining scope up front solves this. Decide whether you are replacing existing hardware with the same footprint, boring a new hole, or adding a smart deadbolt that needs app setup. That single decision steers time, cost, and the chance of damage. If you want a quick overview of what we handle, review our locksmith services, then keep this walkthrough handy while you plan.
A Practical Walkthrough You Can Use
Start with fit, not with the box. You will make better calls and avoid forcing parts into a door that will fight you later.
- Check the door and frame: Confirm thickness, swing, and that the door closes flush without the lock engaged. Fix hinge sag first.
- Measure the bores: Verify the face bore and latch hole match your lock’s template. Clean burrs, and do not “oval” a hole to make it fit.
- Dry fit the latch: Seat the latch flush to the edge, and make sure the bevel faces the strike. The latch should extend and retract without scraping.
- Align the strike to the bolt throw: Close the door and mark the true bolt center. Deepen the strike pocket so the bolt throws fully, not springy.
- Secure hardware evenly: Snug screws in stages from opposite corners to avoid twisting the lock body and binding the cylinder.
- Test with the door closed: Lock and unlock from both sides using the key, thumb turn, and, for smart models, the motor. It should feel smooth.
- Only then do app setup: For keyless or smart deadbolts, finish programming and updates after the mechanics are silky. Mechanical drag kills batteries.
This order prevents the classic trap of blaming electronics for what is really friction. If the bolt rubs, smart locks compensate by pushing harder, which drains batteries and shortens motor life. Smooth first, software second.
Best Practices That Keep Doors Locking Smoothly
Strike engagement is what resists a kick, not a fancy exterior plate. Use appropriately long screws into solid framing for the strike, and seat the box strike or reinforcement plate flat. If the bolt throws a full inch into firm wood and the strike is solid, you will feel the door stop with confidence instead of bounce.
On keyed locks, test with a fresh key and with a copy. Copies exaggerate binding, which helps you catch misalignment before it becomes a 11 p.m. Struggle. For smart locks, stick with the included alkaline batteries unless the manufacturer states otherwise. If batteries die fast, do not accept that as normal until you rule out friction through the entire bolt travel.
Mistakes That Look Small but Cost You Later
Reusing a chewed latch plate because it “mostly covers the hole” invites slop that grows over time. Replace the plate and bed it flat. A latch that floats on shredded wood will not keep alignment under everyday use.
Shimming the strike to “make it catch” without deepening the pocket feels quick but pushes the door toward you and into the weatherstrip. The door will need more force to close, which transfers stress to hinges and the lock. Cut the pocket cleanly so the bolt throws fully with no spring-back.
Ignoring hinge screws is another quiet failure. If the top hinge has short screws into soft material, the door will sag and the latch will start missing the strike. Address the hinge first, then the lock. For commercial doors, confirm hardware type and any code or rating requirements before you start. If a door is fire rated or needs specific panic or lever hardware, choose compatible locks and verify local rules.
When Professional Help Makes Sense, Without Surprises
Call a pro if you need to bore new holes, are working on a metal or fiberglass slab, are swapping mortise hardware, or are installing smart locks on doors that already rub. The labor is not about turning screws, it is about clean drilling, square alignment, and reinforced strikes. To avoid add-ons, share photos of the door edge, the existing bores, and the strike area before anyone arrives. Ask for a clear scope that lists the hardware model, whether drilling is required, and whether smart setup is included or optional.
If you want guidance tailored to your space, see our residential locksmith page for homes or our services overview for businesses. Ready to talk through options for professional lock installation services for homes and businesses in 2026? Reach out through Contact Us and share a couple photos of the door and frame so the first conversation answers the right questions.